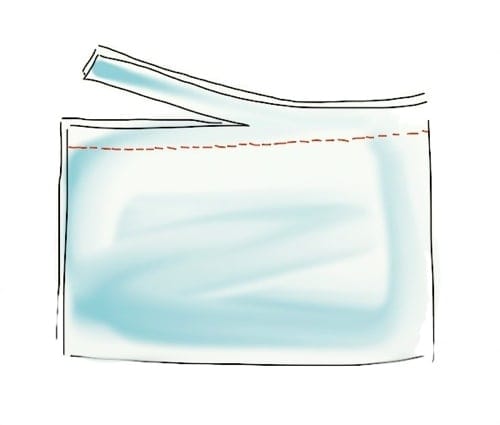
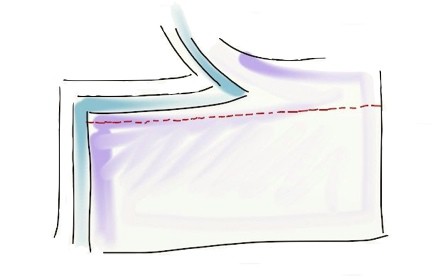
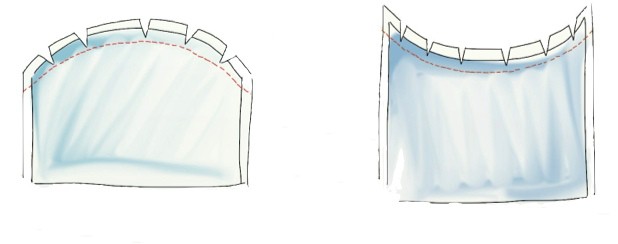
There are many different seams for different fabrics, finishes and garments. You can stitch a garment without pins straight away if you are skilled, but in most cases it is advised to use pins.
To correctly pin two pieces together for stitching, begin by inserting a pin at right angles to the seam line at each end. Ensure you are pinning on a flat even surface. Next pin any balance marks or notches before pinning the remainder of the fabric together.
To pin an eased area of fabric, begin by keeping the part to be eased on top. Roll the fabric over your finger and pin at small intervals. This should result in a small amount of fullness within each pinned section. If there is a larger amount of fabric to be eased, then you should stitch one to two rows within the seam allowance, of small straight stitches and then gather the fabric to the the required size. Distribute the gathers evenly to avoid a puckered effect once stitched.
To pin a crossed seam, ensure the seam lines on the right side of the fabric match and pin together. Then pin the seam allowance from each fabric piece together also to ensure they don’t get folded during stitching.
[wc_row]
[wc_column size=”one-third” position=”first”]

Trimming Seams
To reduce bulk.
[/wc_column]
[wc_column size=”one-third”]

Grading Seams
To reduce bulk and allow seams to lay flat.
[/wc_column]
[wc_column size=”one-third” position=”last”]

Clipping Seams
To allow seams to lay flat in a curve and not cause outer fabric to pucker or strain.
[/wc_column]
[/wc_row]
