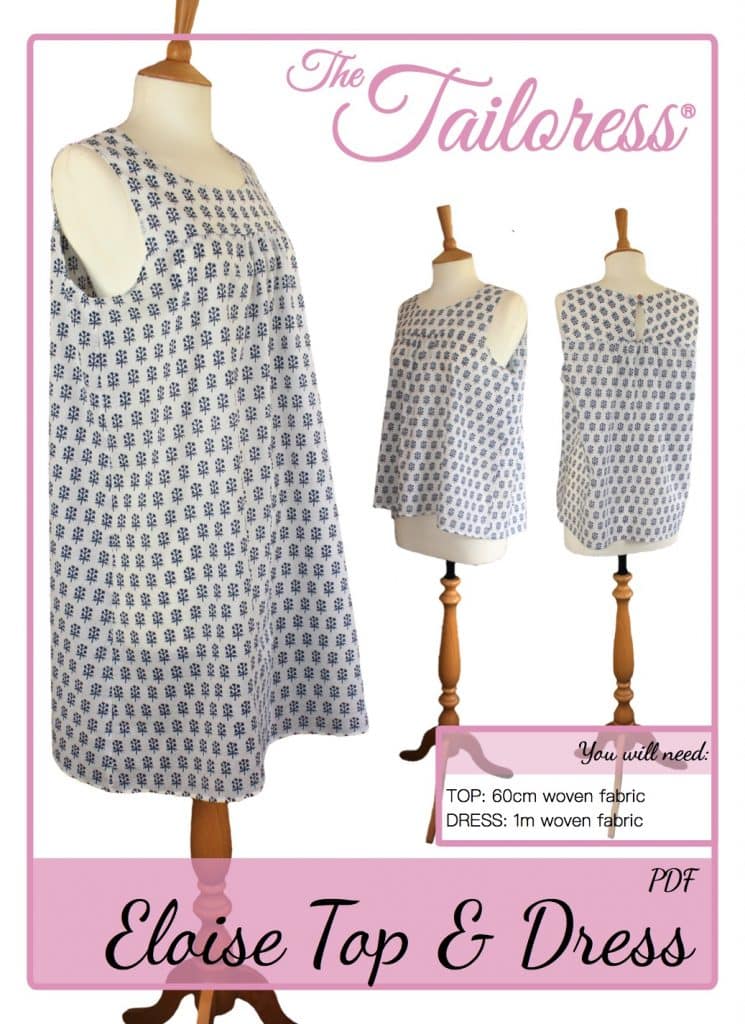
Eloise augšu & kleita Tutorial
[printfriendly]
Attēli ir pieejami modelis lejupielāde.
[wc_accordion collapse=”0″ leaveopen=”0″ klase=”” layout=”box”]
[wc_accordion_section title=”Step 1″]
1.5cm šuve pabalsts iekļauts
Izgriezt visus modeli gabalu.
Place the SHOULDER piece RIGHT SIDES together with the SHOULDER LINING.
Pin and stitch around the neckline and centre backs and along the shoulder seam allowances.
Clip and trim the curved seam allowances to allow them to lie flat once turned to the RIGHT SIDE.
Pagrieziet labās malas, un nospiediet.
[/wc_accordion_section]
[wc_accordion_section title=”Step 2″]
Using a hand stitch or using the largest stitch on your machine, sew a line of straight stitch between the GATHER marks on the BACK piece. Sew midway along the seam allowance
Loop the thread in a figure of eight around a pin at one end then gently pull the thread to form the gathers. When you have gathered enough so the fabric fits between the GATHER marks on the SHOULDER piece, secure in a figure of eight around another pin.
Repeat for the FRONT.
[/wc_accordion_section]
[wc_accordion_section title=”Step 3″]
Ar apģērba nepareizu pusēm pārklāts out, align the FRONT and BACK side seam allowances.
tapa, dūriens un apdare.
prese.
[/wc_accordion_section]
[wc_accordion_section title=”Step 4″]
Finish SIDE padušu sekciju. Iepriekš minētā diagramma parāda metodi, izmantojot pielāgotu samazināt sloksnes slīpo. Ja jūs izmantojat sagatavoto aizspriedumiem lūdzu pielāgot, lai atbilstu jūsu slīpo platums. Par pasūtījuma aizspriedumi padarīt jūsu apm. 4.5cm x 30cm long, you will need 2.
Pin slīpo sloksni vietā gar padusēm sadaļā. Valdziņu 1,5 cm šuve pabalstu.
Apdares šuves pabalstu par 7.5mm.
Reizes pa ārējo malu aizspriedumu par 1cm.
Reizes slīpo strēmeli virs un ap neapstrādātu malu, lai noslēptu. Pin vietā nepareizajā pusē. Izmantot roku dūrienu, piemēram, pretslīdes dūrienu, lai nodrošinātu slīpo vietā vai topstitch tuvu šuves līnijas.
[/wc_accordion_section]
[wc_accordion_section title=”Step 5″]
Lay the FRONT and SHOULDER RIGHT SIDES together.
Pin un valdziņš. Remove the hand stitching that formed the gathers originally.
Finish the seam allowance using zig-zag stitch or an overlocker.
[/wc_accordion_section]
[wc_accordion_section title=”Step 6″]
Atkārtojiet 5 for the BACK and SHOULDER.
The SHOULDER centre back pieces will meet at the centre back of the BACK.
[/wc_accordion_section]
[wc_accordion_section title=”Step 7″]
Complete the garment by adding a hook and eye or loop and button at the top centre back.
Finish the hem with a hemmer foot or create a rolled hem by hand.
[/wc_accordion_section]
[/wc_accordion]
Download the Eloise Top & Dress PDF Sewing Pattern here

