
Gabriella jumpsuit Tutorial
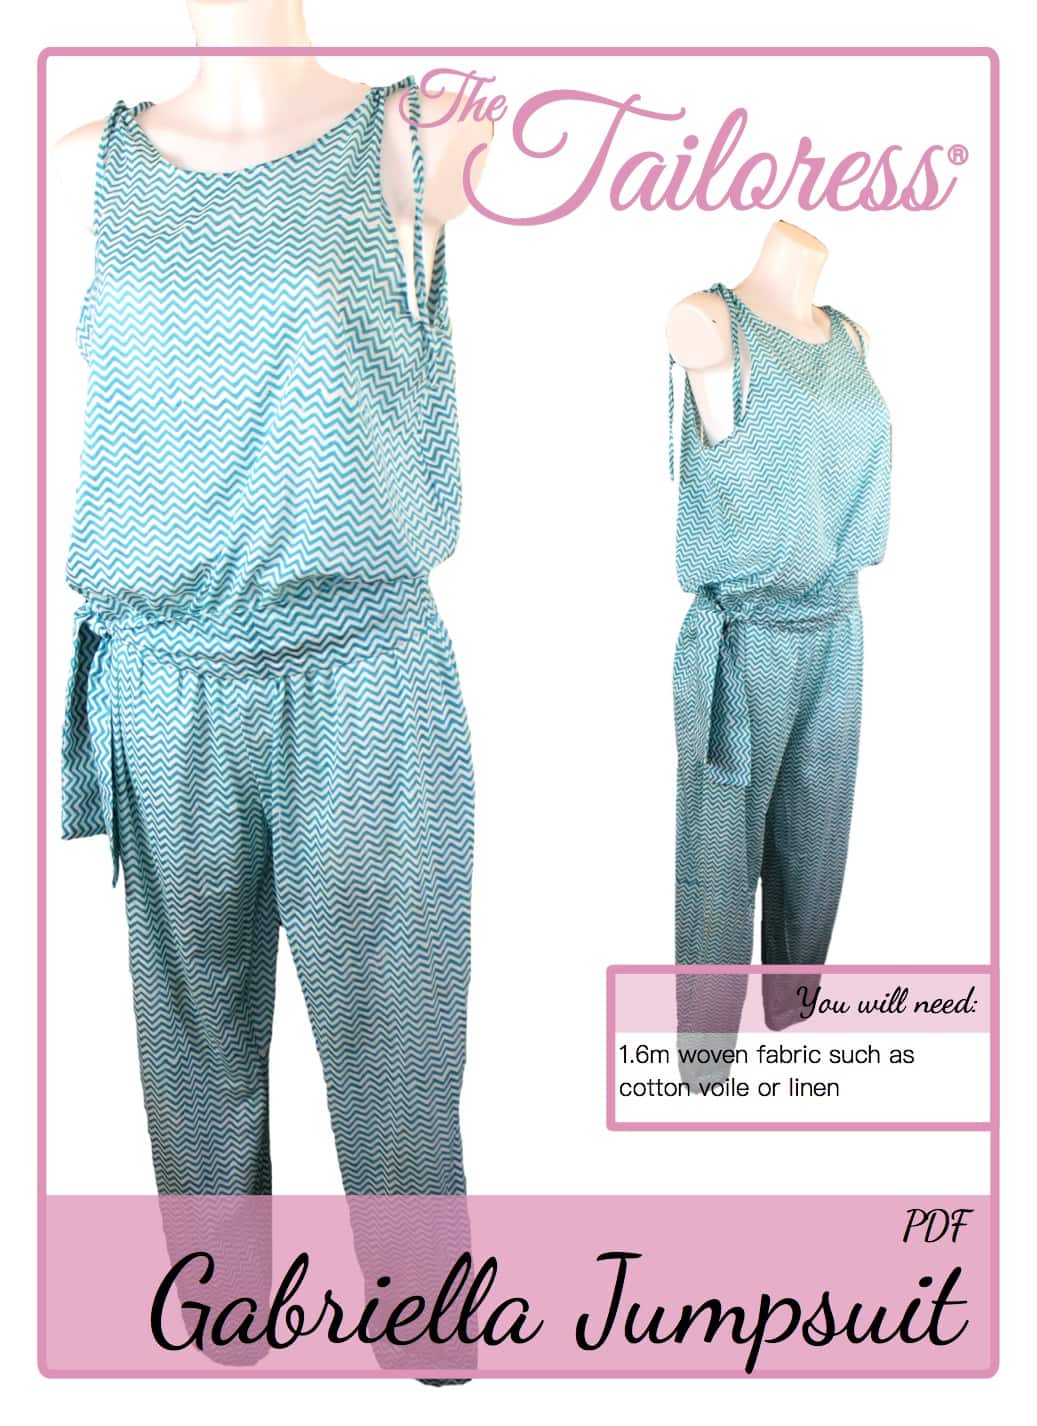
[printfriendly]
Beelde is beskikbaar in die patroon af te laai.
[wc_accordion collapse=”0″ leaveopen=”0″ klas=”” layout=”box”]
[wc_accordion_section title=”Step 1″]
1.5cm naattoelating ingesluit
Knip al die patroondele.
Fold the TIE LOOPS in half as shown on the pattern piece. Stitch and cut along the CUTLINE.
Fold the WAISTBAND LOOP in half as shown on the pattern piece and stitch.
Turn the TIE LOOPS and WAISTBAND LOOP RIGHT SIDES OUT. Press.
[/wc_accordion_section]
[wc_accordion_section title=”Step 2″]
Lê die FRONT regte kante teen mekaar met die agterkant.
Pin and stitch the side seam allowances.
Finish the seam allowance using zig-zags stitch or an overlocker.
[/wc_accordion_section]
[wc_accordion_section title=”Step 3″]
Finish the underarm and neckline sections. Die diagram hierbo toon die metode van die gebruik van 'n persoonlike sny strook vooroordeel. As jy met behulp bereid vooroordeel asseblief aan te pas by jou vooroordeel breedte pas. Vir persoonlike vooroordeel maak joune ongeveer. 4.5cm x 50cm long for the armholes and 4.5cm x 30cm long for the neckline seam allowances.
Speld die vooroordeel strook in plek langs die onderarm artikel. Steek 'n 1.5cm naattoelating.
Sny die naattoelating tot ongeveer 7.5mm.
Vou oor die buitenste rand van die vooroordeel deur 1cm.
Vou die vooroordeel strook oor en rondom die rou rand te verberg. Pin in plek op die verkeerde kant. Gebruik 'n hand steek soos strokie steek om die vooroordeel te beveilig in plek of topstitch naby aan die naat lyn.
[/wc_accordion_section]
[wc_accordion_section title=”Step 4″]
Fold the TIE LOOPS in half and align the raw edges with the unfinished shoulders of the garment.
Pin en steek. Top-stitch the seam allowances flat.
[/wc_accordion_section]
[wc_accordion_section title=”Step 5″]
Take FRONT and BACK TROUSER pieces and lay RIGHT SIDES together.
Speld, steek en klaar is met die kant naattoelatings.
Herhaal vir die ander kant.
[/wc_accordion_section]
[wc_accordion_section title=”Step 6″]
Insert one TROUSER into another, Regte kante teen mekaar.
Align the crotch seam allowance.
Speld, stitch and finish beginning at either centre front or back and continuing to the opposite center.
[/wc_accordion_section]
[wc_accordion_section title=”Step 7″]
Take the TROUSER CUFFS and ELASTIC WAISTBAND.
Fold in half lengthways and sew the seam allowances.
Draai regte kante uit.
Prepare the lengths of elastic by overlapping the seam allowances and stitching to create rounds.
[/wc_accordion_section]
[wc_accordion_section title=”Step 8″]
Fold the CUFFS in half so as to match the raw edges.
Insert the cuff elastic between the fabric layers, concealing it.
Align the raw edges of the CUFF to the end of the TROUSER leg. Pin en steek in plek. Klaar is met die naattoelating soos voorheen.
Repeat for the opposite leg.
[/wc_accordion_section]
[wc_accordion_section title=”Step 9″]
Fold the ELASTIC WAISTBAND in half, wat ooreenstem met die rafelrande.
Insert the waistband elastic between the layers.
Pin and stitch the ELASTIC WAISTBAND RIGHT SIDES together with the TROUSER waistline.
Stitch within the seam allowance to allow this row of stitches to be hidden once the FRONT and BACK are sewn on.
[/wc_accordion_section]
[wc_accordion_section title=”Step 10″]
Turn the FRONT and BACK WRONG SIDES out.
Match the waistline to that of the TROUSER and ELASTIC WAISTBAND.
Fold the WAISTBAND LOOP in half and insert the raw edges into the seam allowance between the upper garment and the TROUSER at one of the side seams. (Choose the opposite side to that which you want your tie to hang).
Speld, steek en klaar is met die naattoelating.
[/wc_accordion_section]
[wc_accordion_section title=”Step 11″]
Fold the WAISTBAND in half along its width RIGHT SIDES together. Werk die naattoelating vas, sew one end closed but leave one open.
Turn the WAISTBAND RIGHT SIDES out through the open end.
Fold back the seam allowance of the open end and sew closed using a small hand stitch such as whip stitch.
Complete the garment by creating the TIES (follow the TIE & BAND TUTORIAAL) and inserting into the TIE LOOPS.
[/wc_accordion_section]
[/wc_accordion]
Download the Gabriella Jumpsuit PDF Sewing Pattern here