
گابریلا Jumpsuit آموزش
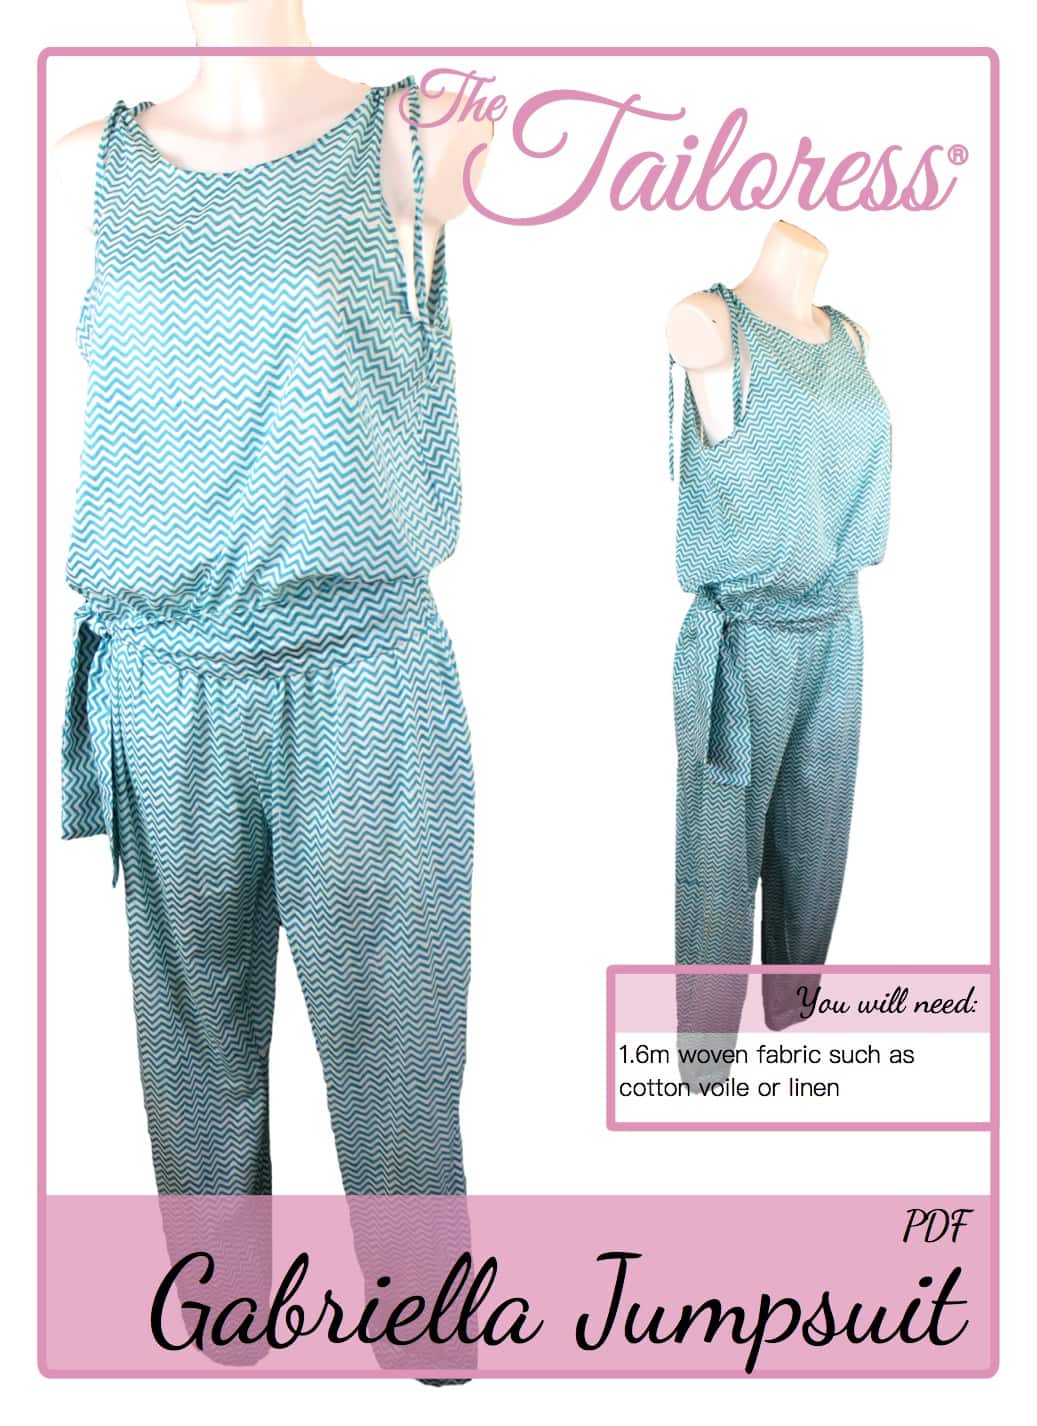
[printfriendly]
تصاویر در دانلود الگوی در دسترس هستند.
[wc_accordion collapse=”0″ leaveopen=”0″ کلاس=”” layout=”box”]
[wc_accordion_section title=”Step 1″]
1.5کمک هزینه سانتی متر درز شامل
برش از تمام قطعات الگو.
Fold the TIE LOOPS in half as shown on the pattern piece. Stitch and cut along the CUTLINE.
Fold the WAISTBAND LOOP in half as shown on the pattern piece and stitch.
Turn the TIE LOOPS and WAISTBAND LOOP RIGHT SIDES OUT. مطبوعات.
[/wc_accordion_section]
[wc_accordion_section title=”Step 2″]
دراز بکش و جبهه حق طرف با هم با پشت.
Pin and stitch the side seam allowances.
Finish the seam allowance using zig-zags stitch or an overlocker.
[/wc_accordion_section]
[wc_accordion_section title=”Step 3″]
Finish the underarm and neckline sections. نمودار فوق نشان می دهد که روش با استفاده از یک نوار سفارشی قطع از تعصب. اگر شما با استفاده تعصب آماده به مدیر انطباق را با توجه به عرض تعصب خود را. برای تعصب سفارشی از مال شما را حدود. 4.5cm x 50cm long for the armholes and 4.5cm x 30cm long for the neckline seam allowances.
پین نوار تعصب در محل در امتداد بخش زیر بغل. کوک کمک هزینه 1.5CM درز.
اصلاح کمک هزینه درز به حدود 7.5mm.
ریختن (فولد) از لبه بیرونی از تعصب های جریان 1cm.
ریختن (فولد) نوار تعصب و در اطراف لبه های خام برای پنهان کردن. پین در محل در طرف اشتباه. استفاده از یک کوک دست مانند کوک لغزش برای حفظ تعصب در محل و یا درز لباس کوک زدن نزدیک به خط درز.
[/wc_accordion_section]
[wc_accordion_section title=”Step 4″]
Fold the TIE LOOPS in half and align the raw edges with the unfinished shoulders of the garment.
پین و کوک. Top-stitch the seam allowances flat.
[/wc_accordion_section]
[wc_accordion_section title=”Step 5″]
Take FRONT and BACK TROUSER pieces and lay RIGHT SIDES together.
سنجاق, کوک و پایان کمک هزینه سمت درز.
را برای سمت دیگر.
[/wc_accordion_section]
[wc_accordion_section title=”Step 6″]
Insert one TROUSER into another, راست هم.
Align the crotch seam allowance.
سنجاق, stitch and finish beginning at either centre front or back and continuing to the opposite center.
[/wc_accordion_section]
[wc_accordion_section title=”Step 7″]
Take the TROUSER CUFFS and ELASTIC WAISTBAND.
Fold in half lengthways and sew the seam allowances.
روشن کردن راست کردن.
Prepare the lengths of elastic by overlapping the seam allowances and stitching to create rounds.
[/wc_accordion_section]
[wc_accordion_section title=”Step 8″]
Fold the CUFFS in half so as to match the raw edges.
Insert the cuff elastic between the fabric layers, concealing it.
Align the raw edges of the CUFF to the end of the TROUSER leg. پین و کوک در محل. پایان کمک هزینه درز مانند قبل.
Repeat for the opposite leg.
[/wc_accordion_section]
[wc_accordion_section title=”Step 9″]
Fold the ELASTIC WAISTBAND in half, تطبیق لبه خام.
Insert the waistband elastic between the layers.
Pin and stitch the ELASTIC WAISTBAND RIGHT SIDES together with the TROUSER waistline.
Stitch within the seam allowance to allow this row of stitches to be hidden once the FRONT and BACK are sewn on.
[/wc_accordion_section]
[wc_accordion_section title=”Step 10″]
Turn the FRONT and BACK WRONG SIDES out.
Match the waistline to that of the TROUSER and ELASTIC WAISTBAND.
Fold the WAISTBAND LOOP in half and insert the raw edges into the seam allowance between the upper garment and the TROUSER at one of the side seams. (Choose the opposite side to that which you want your tie to hang).
سنجاق, کوک و پایان کمک هزینه درز.
[/wc_accordion_section]
[wc_accordion_section title=”Step 11″]
Fold the WAISTBAND in half along its width RIGHT SIDES together. جای درز را بدوزید, sew one end closed but leave one open.
Turn the WAISTBAND RIGHT SIDES out through the open end.
Fold back the seam allowance of the open end and sew closed using a small hand stitch such as whip stitch.
Complete the garment by creating the TIES (follow the TIE & تسمه آموزش) and inserting into the TIE LOOPS.
[/wc_accordion_section]
[/wc_accordion]
Download the Gabriella Jumpsuit PDF Sewing Pattern here