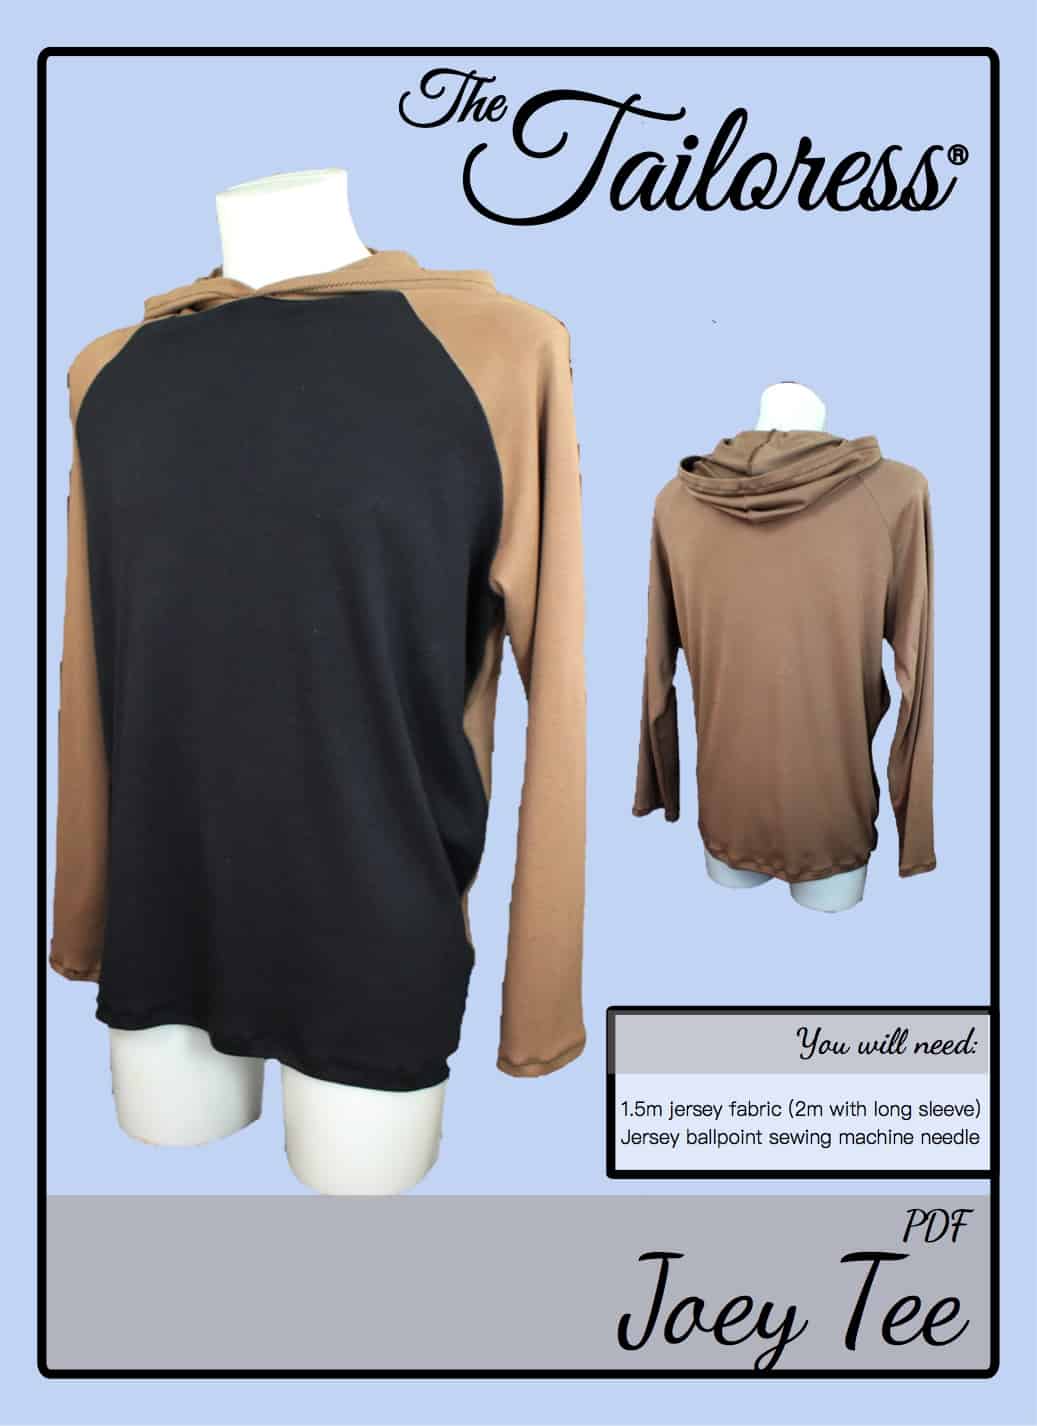
Joey Tee Tutorial

[printfriendly]
Images dị na ụkpụrụ download.
[wc_accordion collapse=”0″ leaveopen=”0″ klas =”” layout=”box”]
[wc_accordion_section title=”Step 1″]
Cut out all pieces marking any balance or ease marks. This garment will have reasonable stretch to it so it is recommended to use zig-zag stitch wherever a seam is constructed.
Lay the front edge of the SLEEVE armhole to the FRONT armhole, Nri n'akụkụ ọnụ.
Pin and stitch the seam allowance.
Repeat for the other FRONT side.
[/wc_accordion_section]
[wc_accordion_section title=”Step 2″]
Lay the back SLEEVE armhole to the BACK armhole RIGHT SIDES together.
Pin and stitch the seam allowance.
Repeat for the other BACK side.
Finish all sleeve seam allowances using an overlocker or zig-zag stitch. Trim if necessary.
[/wc_accordion_section]
[wc_accordion_section title=”Step 3″]
Na uwe na-ezighị ezi, align the side seams and SLEEVE seams.
Pin and stitch continuously from SLEEVE cuff to the garment hem.
Finish the seam allowances as before.
[/wc_accordion_section]
[wc_accordion_section title=”Step 4″]
WITHOUT HOOD:
Fold in half the NECK CUFF RIGHT SIDES together and sew the short seam allowance.
Fold the NECK CUFF in half so that the raw edges meet.
Ease around the garment neckline. Pin na stitch na ebe.
For HOOD see Steps 5-7.
[/wc_accordion_section]
[wc_accordion_section title=”Step 5″]
WITH HOOD:
Kpakọọrọ abụọ Hood iberibe nri n'akụkụ ọnụ. Pin na Stitch center azụ onuete nkwere. Ewepụtụ na rụchaa onuete nkwere na zig-zag stitch ma ọ bụ ihe overlocking stitch.
[/wc_accordion_section]
[wc_accordion_section title=”Step 6″]
Complete the hood by folding the front opening seam allowance back 0.75mm then again 0.75mm. Pin na stitch na ebe rụchaa onuete.
[/wc_accordion_section]
[wc_accordion_section title=”Step 7″]
Ease the neckline of the HOOD on to the garment neckline. Overlap the centre front edges of the HOOD by 1.5cm onto each other.
Pin na stitch. Mechaa ego nrịbama.
You may like to top-stitch the seam allowance flat towards the bottom of the garment.
[/wc_accordion_section]
[wc_accordion_section title=”Step 8″]
Complete the garment hem and cuffs by finishing the seam allowance, then folding it back 1.5cm and top-stitching to secure.
Press all seams.
[/wc_accordion_section]
[/wc_accordion]
