
ジョーイティーチュートリアル
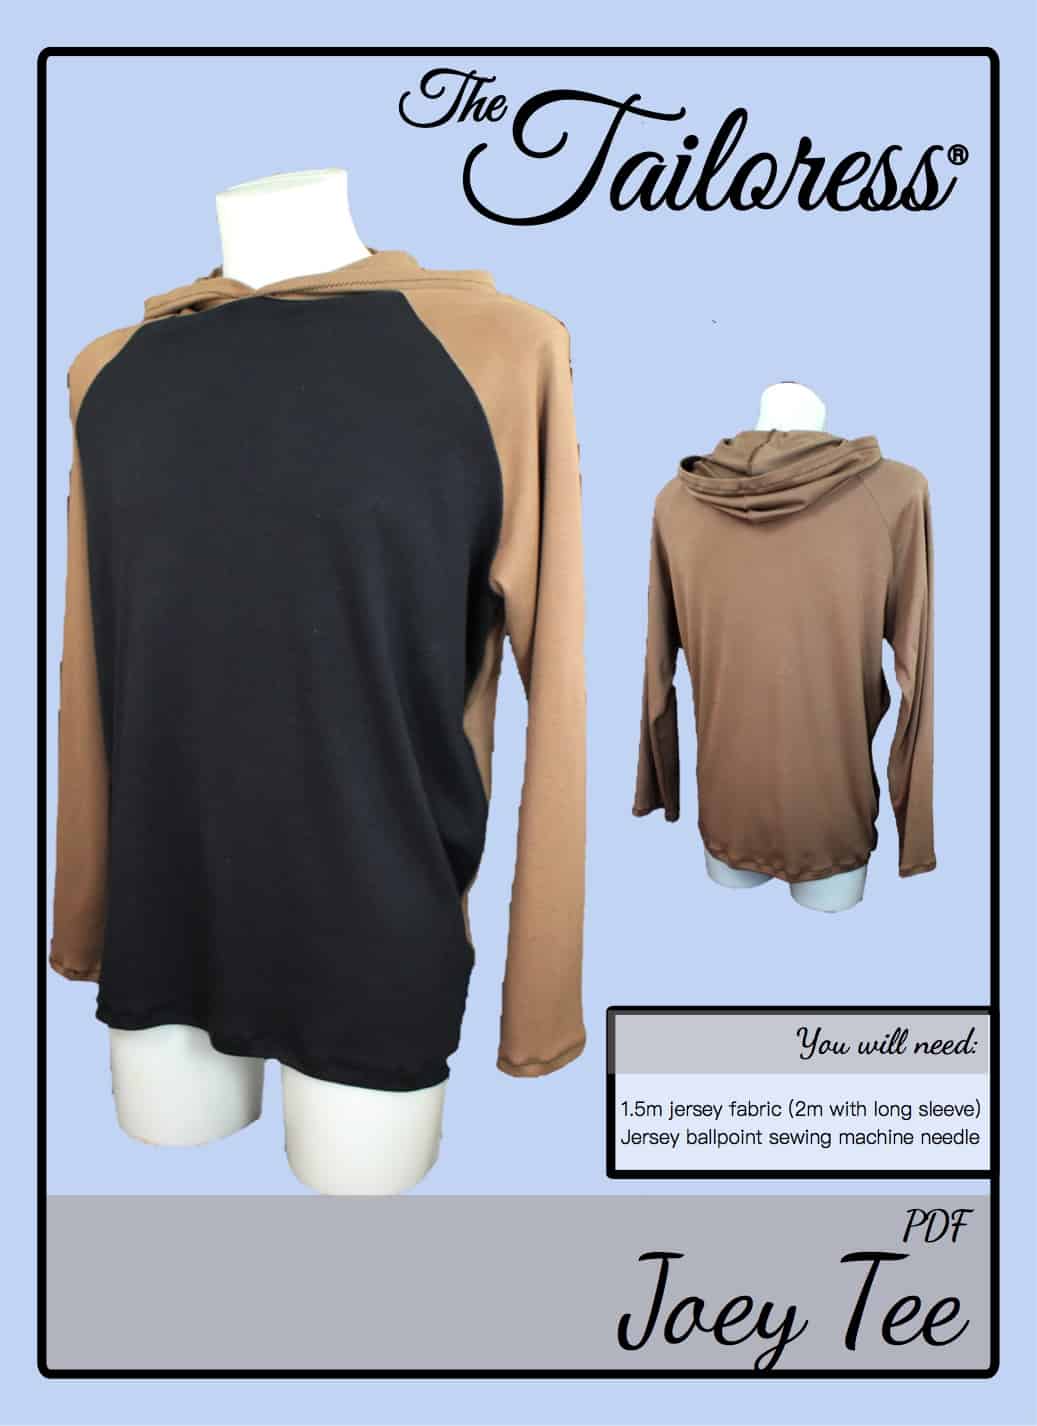
[印刷に適した]
画像は、パターンのダウンロードでご利用いただけます.
[wc_accordion 崩壊=”0″ Leaveopen=”0″ クラス=”” レイアウト=”箱”]
[wc_accordion_section title=”ステップ1″]
任意のバランスや使いやすさのマークをマーキングすべての部分を切り取り. 継ぎ目が構築されている場所ジグザグステッチを使用することをお勧めしますので、この製品はそれに合理的なストレッチを持っています.
Lay the front edge of the SLEEVE armhole to the FRONT armhole, 一緒に右側.
縫い代をピンとステッチ.
Repeat for the other FRONT side.
[/wc_accordion_section]
[wc_accordion_section title=”ステップ2″]
Lay the back SLEEVE armhole to the BACK armhole RIGHT SIDES together.
縫い代をピンとステッチ.
Repeat for the other BACK side.
overlockerまたはジグザグステッチを使用して、すべての袖の縫い目手当を終了します. 必要に応じてトリム.
[/wc_accordion_section]
[wc_accordion_section title=”ステップ3″]
アウト衣服WRONG側面と, align the side seams and SLEEVE seams.
Pin and stitch continuously from SLEEVE cuff to the garment hem.
以前のように縫い代を終了します.
[/wc_accordion_section]
[wc_accordion_section title=”ステップ4″]
フードなし:
一緒に半分NECK CUFF右側に折ると短い縫い代を縫います.
生のエッジが会うように半分にNECK CUFFを折ります.
衣服のネックラインの周りに楽. 代わりにピンとステッチ.
For HOOD see Steps 5-7.
[/wc_accordion_section]
[wc_accordion_section title=”ステップ5″]
フード付き:
右側2つHOOD片を置き. Pin and stitch the center back seam allowance. Trim and finish the seam allowance with zig-zag stitch or an overlocking stitch.
[/wc_accordion_section]
[wc_accordion_section title=”ステップ6″]
Complete the hood by folding the front opening seam allowance back 0.75mm then again 0.75mm. Pin and stitch in place to finish the seam.
[/wc_accordion_section]
[wc_accordion_section title=”ステップ7″]
Ease the neckline of the HOOD on to the garment neckline. Overlap the centre front edges of the HOOD by 1.5cm onto each other.
ピンとステッチ. 縫い代を終了します.
You may like to top-stitch the seam allowance flat towards the bottom of the garment.
[/wc_accordion_section]
[wc_accordion_section title=”ステップ8″]
縫い代を終えたことで衣服の裾や袖口を完了, その後、1.5センチメートルと確保するために、トップステッチを、それを折り返します.
すべての縫い目を押してください.
[/wc_accordion_section]
[/トイレアコーディオン]