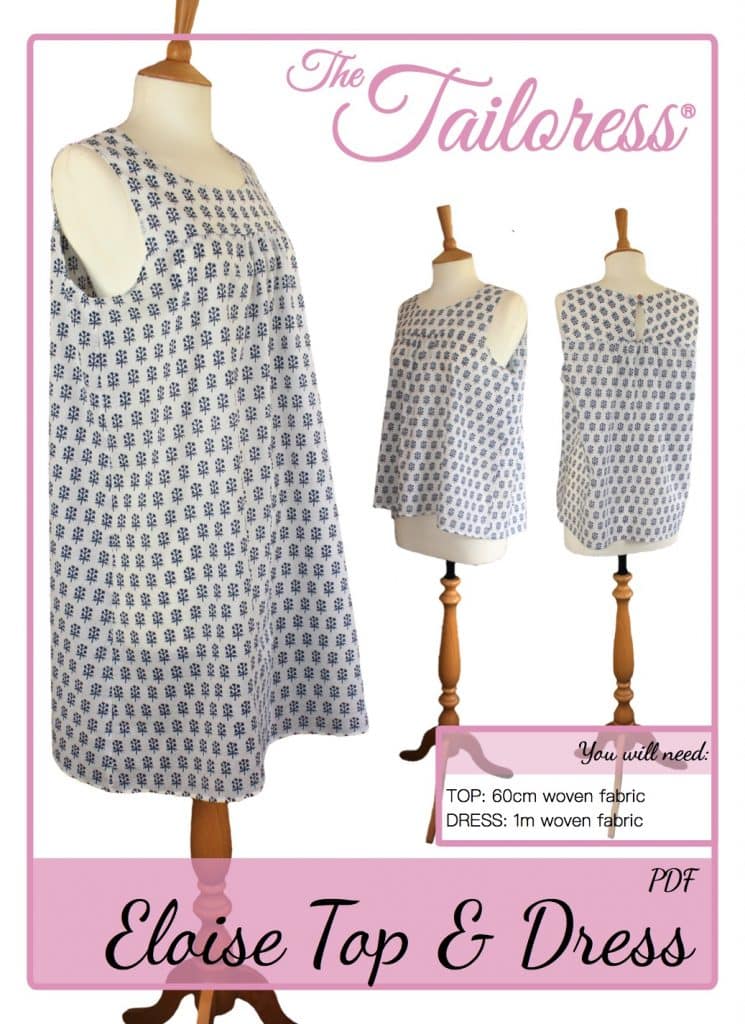
ಎಲೋಯಿಸೆ ಟಾಪ್ & ಉಡುಗೆ ಟ್ಯುಟೋರಿಯಲ್
[printfriendly]
ಚಿತ್ರಗಳು ಮಾದರಿಯನ್ನು ಡೌನ್ಲೋಡ್ ಲಭ್ಯವಿದೆ.
[wc_accordion collapse=”0″ leaveopen=”0″ class=”” layout=”box”]
[wc_accordion_section title=”Step 1″]
1.5ಸೆಂ ಸೀಮ್ ಭತ್ಯೆ ಒಳಗೊಂಡಿತ್ತು
ಎಲ್ಲಾ ಮಾದರಿ ತುಂಡುಗಳನ್ನು ಕತ್ತರಿಸಿ.
ಭುಜದ ಕಾಗದ ಒಟ್ಟಿಗೆ ಭುಜದ ತುಣುಕು ಬಲ ಬದಿಗಳಲ್ಲಿ ಇರಿಸಿ.
ಪಿನ್ ಮತ್ತು ಕಂಠರೇಖೆ ಮತ್ತು ಸೆಂಟರ್ ಬೆನ್ನಿನ ಸುಮಾರು ಹೊಲಿಗೆ ಮತ್ತು ಭುಜದ ಸೀಮ್ ಅವಕಾಶಗಳ ಜೊತೆಗೆ.
Clip and trim the curved seam allowances to allow them to lie flat once turned to the RIGHT SIDE.
ಬಲ ಬದಿಗಳಲ್ಲಿ ಔಟ್ ಮತ್ತು ಪತ್ರಿಕಾ ಮಾಡಿ.
[/wc_accordion_section]
[wc_accordion_section title=”Step 2″]
Using a hand stitch or using the largest stitch on your machine, sew a line of straight stitch between the GATHER marks on the BACK piece. Sew midway along the seam allowance
Loop the thread in a figure of eight around a pin at one end then gently pull the thread to form the gathers. When you have gathered enough so the fabric fits between the GATHER marks on the SHOULDER piece, secure in a figure of eight around another pin.
Repeat for the FRONT.
[/wc_accordion_section]
[wc_accordion_section title=”Step 3″]
ಔಟ್ ಉಡುಪನ್ನು ತಪ್ಪು ಕಡೆ, align the FRONT and BACK side seam allowances.
ಪಿನ್, ಹೊಲಿಗೆ ಮತ್ತು ಮುಗಿಸಲು.
ಒತ್ತಿ.
[/wc_accordion_section]
[wc_accordion_section title=”Step 4″]
Finish the SIDE underarm section. The above diagram shows the method of using a custom cut strip of bias. If you are using prepared bias please adapt to suit your bias width. For custom bias make yours approx. 4.5cm x 30cm long, you will need 2.
Pin the bias strip in place along the underarm section. Stitch a 1.5cm seam allowance.
Trim the seam allowance to about 7.5mm.
Fold over the outer edge of the bias by 1cm.
Fold the bias strip over and around the raw edge to conceal. Pin in place on the WRONG SIDE. Use a hand stitch such as slip stitch to secure the bias in place or topstitch close to the seam line.
[/wc_accordion_section]
[wc_accordion_section title=”Step 5″]
Lay the FRONT and SHOULDER RIGHT SIDES together.
ಪಿನ್ ಮತ್ತು ಹೊಲಿಗೆ. Remove the hand stitching that formed the gathers originally.
Finish the seam allowance using zig-zag stitch or an overlocker.
[/wc_accordion_section]
[wc_accordion_section title=”Step 6″]
Repeat STEP 5 for the BACK and SHOULDER.
The SHOULDER centre back pieces will meet at the centre back of the BACK.
[/wc_accordion_section]
[wc_accordion_section title=”Step 7″]
Complete the garment by adding a hook and eye or loop and button at the top centre back.
Finish the hem with a hemmer foot or create a rolled hem by hand.
[/wc_accordion_section]
[/wc_accordion]
Download the Eloise Top & Dress PDF Sewing Pattern here

