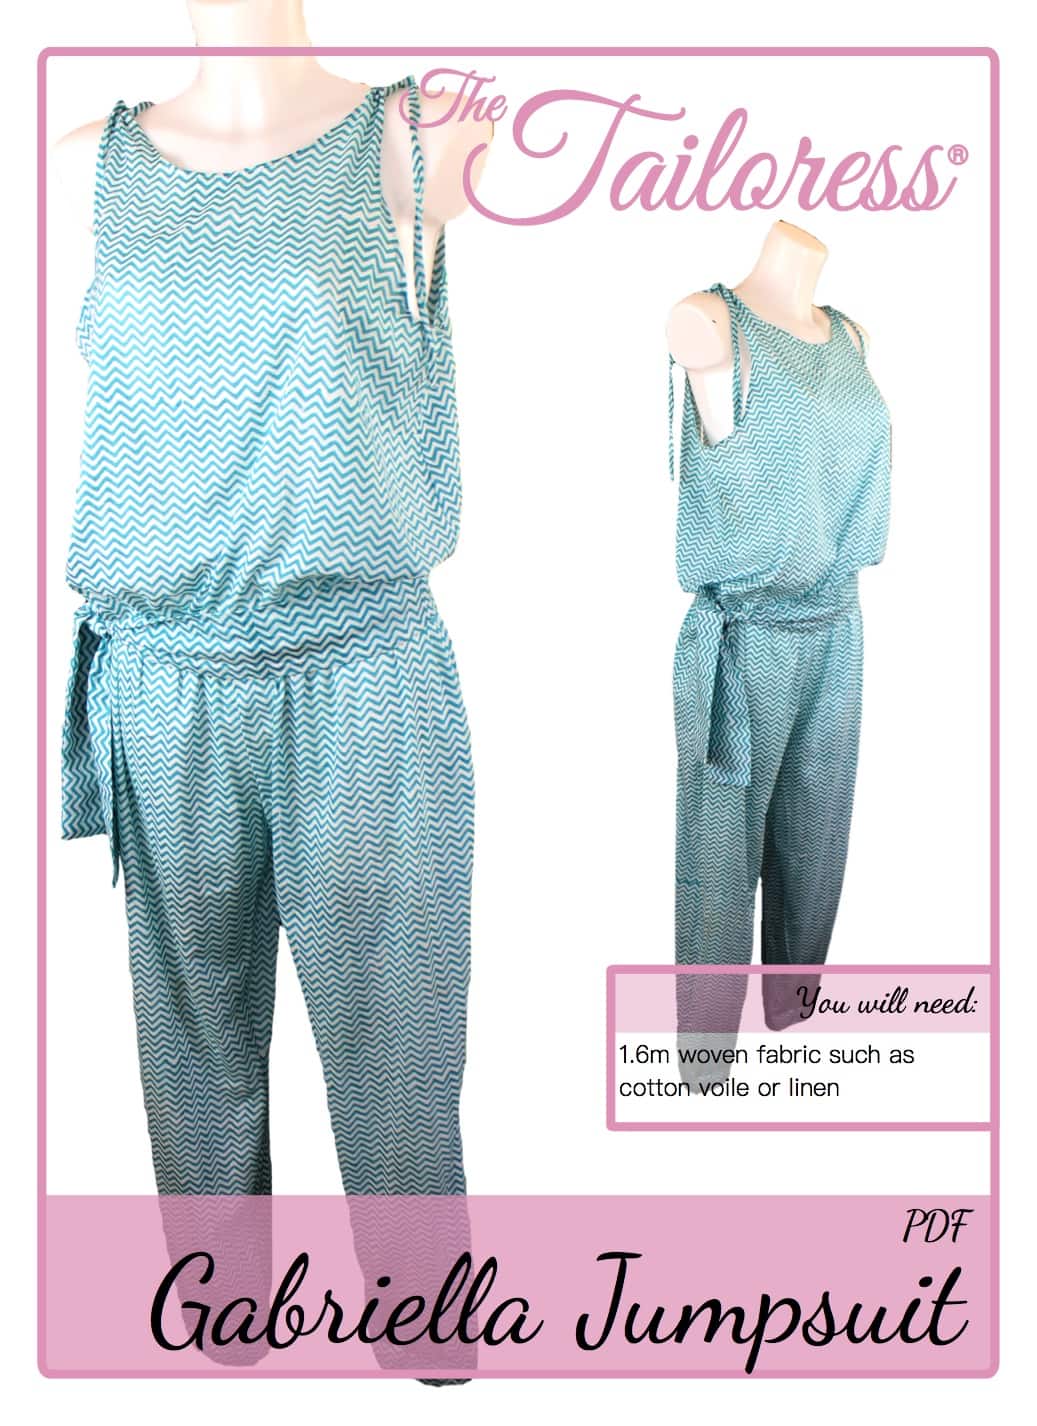
Gabriella salopeta Tutorial

[printfriendly]
Imaginile sunt disponibile în descărcare de model.
[wc_accordion collapse=”0″ leaveopen=”0″ clasa=”” layout=”box”]
[wc_accordion_section title=”Step 1″]
1.5alocația cm cusătură inclusă
Se taie toate piesele de model.
Fold the TIE LOOPS in half as shown on the pattern piece. Stitch and cut along the CUTLINE.
Fold the WAISTBAND LOOP in half as shown on the pattern piece and stitch.
Turn the TIE LOOPS and WAISTBAND LOOP RIGHT SIDES OUT. presa.
[/wc_accordion_section]
[wc_accordion_section title=”Step 2″]
Așezați dreapta față părți împreună cu partea din spate.
Pin and stitch the side seam allowances.
Finish the seam allowance using zig-zags stitch or an overlocker.
[/wc_accordion_section]
[wc_accordion_section title=”Step 3″]
Finish the underarm and neckline sections. Diagrama de mai sus arată metoda de utilizare a unei benzi personalizate tăiate de prejudecată. Dacă utilizați părtinire pregătite vă rugăm să se adapteze pentru a se potrivi cu lățimea predispoziții. For custom bias make yours approx. 4.5cm x 50cm long for the armholes and 4.5cm x 30cm long for the neckline seam allowances.
Pin banda prejudecată în loc de-a lungul secțiunii subraț. Stitch o alocație de 1,5cm cusătură.
Trim de coasere la aproximativ 7,5mm.
Fold peste marginea exterioară a bias de 1cm.
Ori banda prejudecată peste și în jurul marginii prime pentru a ascunde. Pin in place on the WRONG SIDE. Use a hand stitch such as slip stitch to secure the bias in place or topstitch close to the seam line.
[/wc_accordion_section]
[wc_accordion_section title=”Step 4″]
Fold the TIE LOOPS in half and align the raw edges with the unfinished shoulders of the garment.
PIN-ul si cusatura. Top-stitch the seam allowances flat.
[/wc_accordion_section]
[wc_accordion_section title=”Step 5″]
Take FRONT and BACK TROUSER pieces and lay RIGHT SIDES together.
bolț, cusatura si termina cusăturii laterale.
Se repetă pentru cealaltă parte.
[/wc_accordion_section]
[wc_accordion_section title=”Step 6″]
Insert one TROUSER into another, Din dreapta împreună.
Align the crotch seam allowance.
bolț, stitch and finish beginning at either centre front or back and continuing to the opposite center.
[/wc_accordion_section]
[wc_accordion_section title=”Step 7″]
Take the TROUSER CUFFS and ELASTIC WAISTBAND.
Fold in half lengthways and sew the seam allowances.
Turn din dreapta afară.
Prepare the lengths of elastic by overlapping the seam allowances and stitching to create rounds.
[/wc_accordion_section]
[wc_accordion_section title=”Step 8″]
Fold the CUFFS in half so as to match the raw edges.
Insert the cuff elastic between the fabric layers, concealing it.
Align the raw edges of the CUFF to the end of the TROUSER leg. Pin si cusatura în loc. Finish the seam allowance as before.
Repeat for the opposite leg.
[/wc_accordion_section]
[wc_accordion_section title=”Step 9″]
Fold the ELASTIC WAISTBAND in half, potrivire marginile prime.
Insert the waistband elastic between the layers.
Pin and stitch the ELASTIC WAISTBAND RIGHT SIDES together with the TROUSER waistline.
Stitch within the seam allowance to allow this row of stitches to be hidden once the FRONT and BACK are sewn on.
[/wc_accordion_section]
[wc_accordion_section title=”Step 10″]
Turn the FRONT and BACK WRONG SIDES out.
Match the waistline to that of the TROUSER and ELASTIC WAISTBAND.
Fold the WAISTBAND LOOP in half and insert the raw edges into the seam allowance between the upper garment and the TROUSER at one of the side seams. (Choose the opposite side to that which you want your tie to hang).
bolț, cusatura si termina coasere.
[/wc_accordion_section]
[wc_accordion_section title=”Step 11″]
Fold the WAISTBAND in half along its width RIGHT SIDES together. Sew the seam allowance, sew one end closed but leave one open.
Turn the WAISTBAND RIGHT SIDES out through the open end.
Fold back the seam allowance of the open end and sew closed using a small hand stitch such as whip stitch.
Complete the garment by creating the TIES (follow the TIE & STRAP TUTORIAL) and inserting into the TIE LOOPS.
[/wc_accordion_section]
[/wc_accordion]
Download the Gabriella Jumpsuit PDF Sewing Pattern here
