
Gabriella Jumpsuit Tutorial
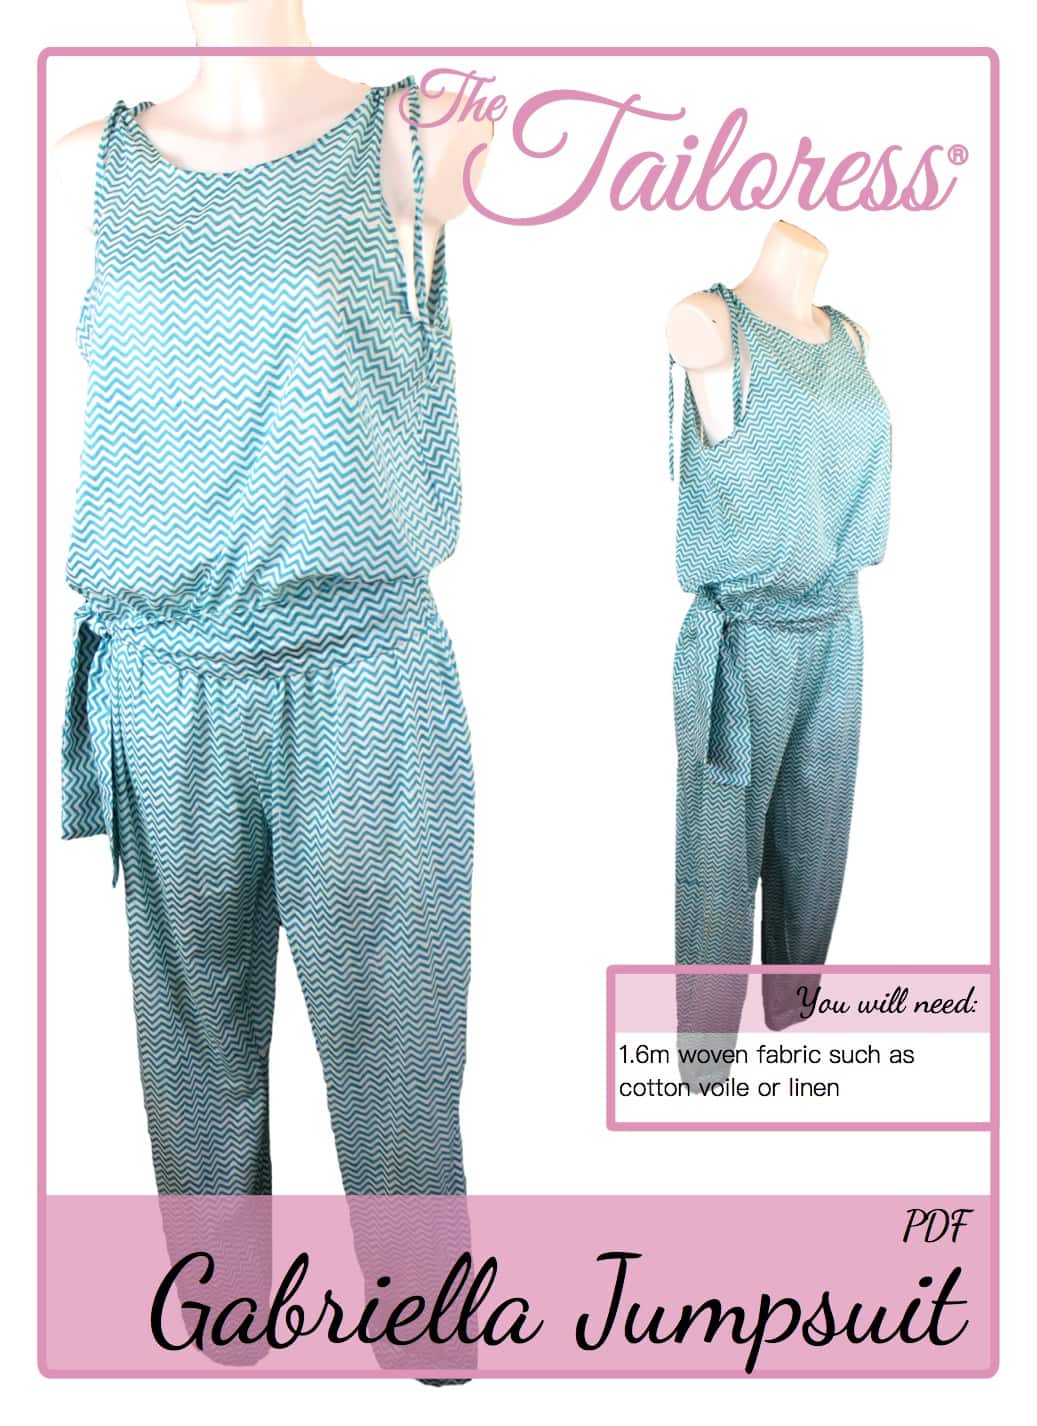
[print friendly]
Gambar nu sadia di download pola.
[wc_accordion collapse=”0″ leaveopen=”0″ class=”” layout=”box”]
[wc_accordion_section title=”Step 1″]
1.5cm kelim sangu kaasup
Cut Nyak Dhien kaluar kabéh buah pola.
Fold the TIE LOOPS in half as shown on the pattern piece. Stitch and cut along the CUTLINE.
Fold the WAISTBAND LOOP in half as shown on the pattern piece and stitch.
Turn the TIE LOOPS and WAISTBAND LOOP RIGHT SIDES OUT. pers.
[/wc_accordion_section]
[wc_accordion_section title=”Step 2″]
Iklas hareup katuhu sisi bareng jeung tukang.
Pin and stitch the side seam allowances.
Finish the seam allowance using zig-zags stitch or an overlocker.
[/wc_accordion_section]
[wc_accordion_section title=”Step 3″]
Finish the underarm and neckline sections. Diagram di luhur nembongkeun métode ngagunakeun strip cut custom bias. Upami Anjeun keur make bias disusun mangga adaptasi pikeun nyocogkeun lebar bias Anjeun. Pikeun bias custom nyieun milik anjeun approx. 4.5cm x 50cm long for the armholes and 4.5cm x 30cm long for the neckline seam allowances.
Pin strip bias di tempat sapanjang bagian underarm. Jahit tunjangan jahitan 1,5 cm.
Motong sangu kelim mun ngeunaan 7,5mm.
Lipetkeun tepi luar biasna 1cm.
Melu strip bias leuwih sarta sabudeureun ujung atah pikeun nyumputkeun. Pin di tempat di sisi SALAH. Paké stitch leungeun kayaning slip stitch pikeun ngamankeun bias di tempat atawa topstitch deukeut garis kelim..
[/wc_accordion_section]
[wc_accordion_section title=”Step 4″]
Fold the TIE LOOPS in half and align the raw edges with the unfinished shoulders of the garment.
Pin jeung stitch. Top-stitch the seam allowances flat.
[/wc_accordion_section]
[wc_accordion_section title=”Step 5″]
Take FRONT and BACK TROUSER pieces and lay RIGHT SIDES together.
panitik, stitch and finish the side seam allowances.
Malikan pikeun sisi séjén.
[/wc_accordion_section]
[wc_accordion_section title=”Step 6″]
Insert one TROUSER into another, SISI katuhu babarengan.
Align the crotch seam allowance.
panitik, stitch and finish beginning at either centre front or back and continuing to the opposite center.
[/wc_accordion_section]
[wc_accordion_section title=”Step 7″]
Take the TROUSER CUFFS and ELASTIC WAISTBAND.
Fold in half lengthways and sew the seam allowances.
Hurungkeun SISI KANAN kaluar.
Prepare the lengths of elastic by overlapping the seam allowances and stitching to create rounds.
[/wc_accordion_section]
[wc_accordion_section title=”Step 8″]
Fold the CUFFS in half so as to match the raw edges.
Insert the cuff elastic between the fabric layers, concealing it.
Align the raw edges of the CUFF to the end of the TROUSER leg. Pin na stitch di tempat. Finish the seam allowance as before.
Repeat for the opposite leg.
[/wc_accordion_section]
[wc_accordion_section title=”Step 9″]
Fold the ELASTIC WAISTBAND in half, matching the raw edges.
Insert the waistband elastic between the layers.
Pin and stitch the ELASTIC WAISTBAND RIGHT SIDES together with the TROUSER waistline.
Stitch within the seam allowance to allow this row of stitches to be hidden once the FRONT and BACK are sewn on.
[/wc_accordion_section]
[wc_accordion_section title=”Step 10″]
Turn the FRONT and BACK WRONG SIDES out.
Match the waistline to that of the TROUSER and ELASTIC WAISTBAND.
Fold the WAISTBAND LOOP in half and insert the raw edges into the seam allowance between the upper garment and the TROUSER at one of the side seams. (Choose the opposite side to that which you want your tie to hang).
panitik, stitch tur rengse dina sangu kelim.
[/wc_accordion_section]
[wc_accordion_section title=”Step 11″]
Fold the WAISTBAND in half along its width RIGHT SIDES together. Ngaput sangu kelim, sew one end closed but leave one open.
Turn the WAISTBAND RIGHT SIDES out through the open end.
Fold back the seam allowance of the open end and sew closed using a small hand stitch such as whip stitch.
Complete the garment by creating the TIES (follow the TIE & STRAP TUTORIAL) and inserting into the TIE LOOPS.
[/wc_accordion_section]
[/wc_accordion]
Download the Gabriella Jumpsuit PDF Sewing Pattern here