
ஜோயி டீ பயிற்சி
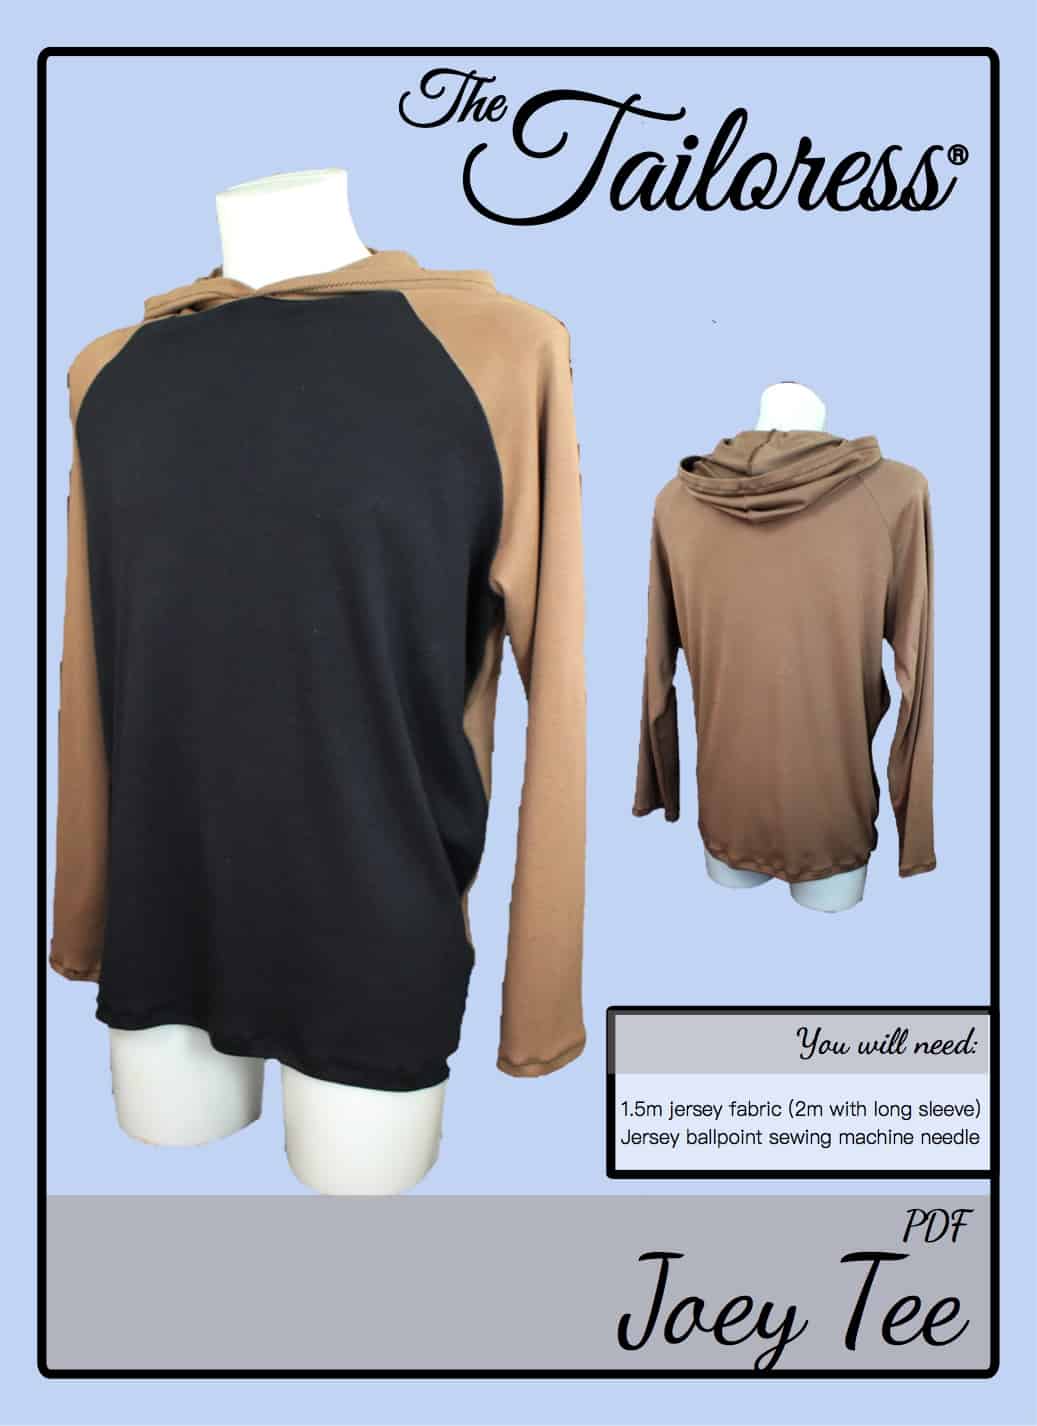
[அச்சு நட்பு]
படங்களை முறை பதிவிறக்கம் கிடைக்கின்றன.
[wc_accordion சரிவு=”0″ விடுவிடு =”0″ வர்க்கம்=”” தளவமைப்பு =”பெட்டி”]
[wc_accordion_section தலைப்பு=”படி 1″]
எந்த சமநிலை அல்லது எளிதாக மதிப்பெண்கள் குறிக்கும் அனைத்து காய்களும் வெட்டி. இந்த ஆடை ஒரு மடிப்பு எங்கு கட்டப்பட்டது அது ஜிக்-ஜேக் விலாக்குத்தல் பயன்படுத்த பரிந்துரைக்கப்படுகிறது அது நியாயமான நீட்டிக்க வேண்டும்.
முன் armhole செய்ய ஸ்லீவ் armhole முன் விளிம்பில் லே, ஒன்றாக வலது பக்கங்களில்.
முள் மற்றும் மடிப்பு கொடுப்பனவு விலாக்குத்தல்.
Repeat for the other FRONT side.
[/wc_accordion_section]
[wc_accordion_section தலைப்பு=”Step 2″]
Lay the back SLEEVE armhole to the BACK armhole RIGHT SIDES together.
முள் மற்றும் மடிப்பு கொடுப்பனவு விலாக்குத்தல்.
Repeat for the other BACK side.
Finish all sleeve seam allowances using an overlocker or zig-zag stitch. Trim if necessary.
[/wc_accordion_section]
[wc_accordion_section தலைப்பு=”Step 3″]
வெளியே ஆடை தவறு பக்கங்களிலும் உடன், align the side seams and SLEEVE seams.
Pin and stitch continuously from SLEEVE cuff to the garment hem.
முன்பு போலவே மடிப்பு படிகள் முடிக்க.
[/wc_accordion_section]
[wc_accordion_section தலைப்பு=”Step 4″]
WITHOUT HOOD:
Fold in half the NECK CUFF RIGHT SIDES together and sew the short seam allowance.
Fold the NECK CUFF in half so that the raw edges meet.
Ease around the garment neckline. இடத்தில் முள் மற்றும் தைத்து.
For HOOD see Steps 5-7.
[/wc_accordion_section]
[wc_accordion_section தலைப்பு=”Step 5″]
WITH HOOD:
Lay two HOOD pieces RIGHT SIDES together. Pin and stitch the center back seam allowance. Trim and finish the seam allowance with zig-zag stitch or an overlocking stitch.
[/wc_accordion_section]
[wc_accordion_section தலைப்பு=”Step 6″]
Complete the hood by folding the front opening seam allowance back 0.75mm then again 0.75mm. Pin and stitch in place to finish the seam.
[/wc_accordion_section]
[wc_accordion_section தலைப்பு=”Step 7″]
Ease the neckline of the HOOD on to the garment neckline. Overlap the centre front edges of the HOOD by 1.5cm onto each other.
முள் மற்றும் தைத்து. மடிப்பு கொடுப்பனவு முடிக்க.
You may like to top-stitch the seam allowance flat towards the bottom of the garment.
[/wc_accordion_section]
[wc_accordion_section தலைப்பு=”Step 8″]
Complete the garment hem and cuffs by finishing the seam allowance, then folding it back 1.5cm and top-stitching to secure.
அனைத்து கோடுகளின் அழுத்தவும்.
[/wc_accordion_section]
[/wc_accordion]