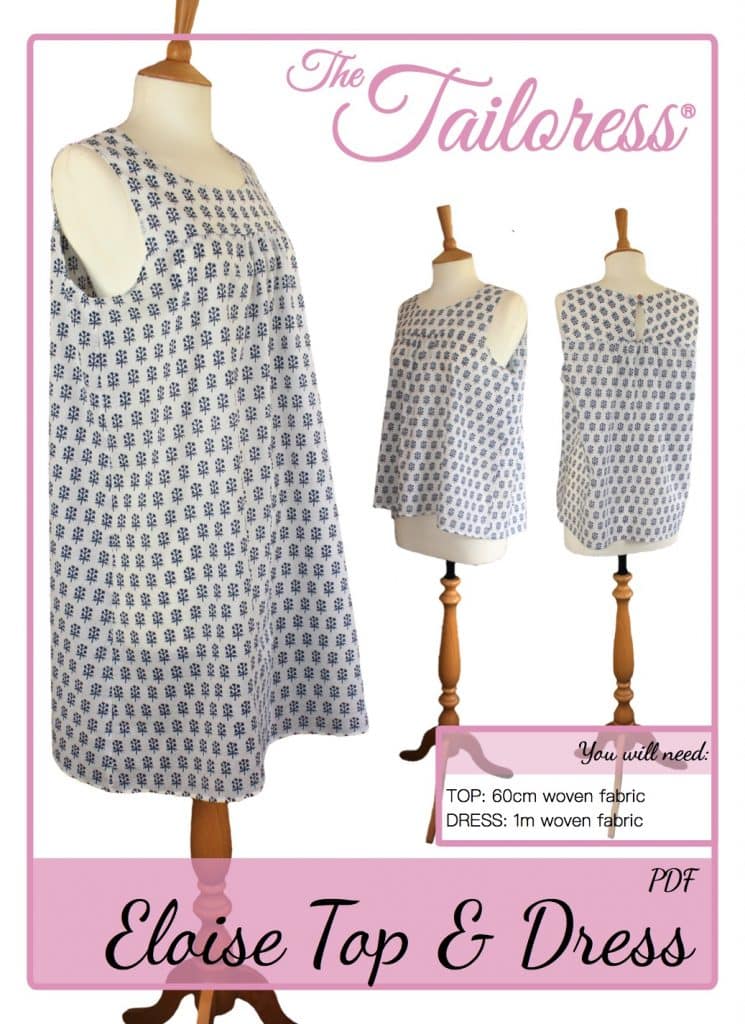
Eloise สูงสุด & Dress Tutorial
[printfriendly]
แสดงสินค้าที่มีอยู่ในรูปแบบดาวน์โหลด.
[wc_accordion collapse=”0″ leaveopen=”0″ ชั้น=”” layout=”box”]
[wc_accordion_section title=”Step 1″]
1.5ค่าเผื่อตะเข็บซม. รวม
ตัดออกทุกชิ้นรูปแบบ.
Place the SHOULDER piece RIGHT SIDES together with the SHOULDER LINING.
Pin and stitch around the neckline and centre backs and along the shoulder seam allowances.
Clip and trim the curved seam allowances to allow them to lie flat once turned to the RIGHT SIDE.
เปิด SIDES ขวาออกและกด.
[/wc_accordion_section]
[wc_accordion_section title=”Step 2″]
Using a hand stitch or using the largest stitch on your machine, sew a line of straight stitch between the GATHER marks on the BACK piece. Sew midway along the seam allowance
Loop the thread in a figure of eight around a pin at one end then gently pull the thread to form the gathers. When you have gathered enough so the fabric fits between the GATHER marks on the SHOULDER piece, secure in a figure of eight around another pin.
Repeat for the FRONT.
[/wc_accordion_section]
[wc_accordion_section title=”Step 3″]
ด้วยการตัดเย็บเสื้อผ้า SIDES ผิดออก, align the FRONT and BACK side seam allowances.
หมุด, ปักครอสติและเสร็จสิ้น.
กด.
[/wc_accordion_section]
[wc_accordion_section title=”Step 4″]
Finish the SIDE underarm section. แผนภาพข้างต้นแสดงให้เห็นถึงวิธีการใช้แถบตัดที่กำหนดเองของอคติ. หากคุณกำลังใช้อคติเตรียมโปรดปรับตัวเพื่อให้เหมาะกับความกว้างอคติของคุณ. อคติที่กำหนดเองทำให้คุณประมาณ. 4.5cm x 30cm long, you will need 2.
Pin Strip อคติในสถานที่พร้อมส่วนใต้วงแขน. Stitch เผื่อ 1.5cm ตะเข็บ.
ตัดค่าเผื่อตะเข็บประมาณ 7.5 มม.
พับขอบด้านนอกของการมีอคติโดย 1cm.
พับแถบอคติมากกว่าและรอบขอบดิบที่จะปกปิด. Pin ในสถานที่ในด้านผิด. ใช้ตะเข็บมือเช่นสลิปตะเข็บเพื่อรักษาความปลอดภัยอคติในสถานที่หรือ Topstitch ใกล้กับเส้นตะเข็บ.
[/wc_accordion_section]
[wc_accordion_section title=”Step 5″]
Lay the FRONT and SHOULDER RIGHT SIDES together.
และ Pin ตะเข็บ. Remove the hand stitching that formed the gathers originally.
Finish the seam allowance using zig-zag stitch or an overlocker.
[/wc_accordion_section]
[wc_accordion_section title=”Step 6″]
ทำซ้ำขั้นตอน 5 for the BACK and SHOULDER.
The SHOULDER centre back pieces will meet at the centre back of the BACK.
[/wc_accordion_section]
[wc_accordion_section title=”Step 7″]
Complete the garment by adding a hook and eye or loop and button at the top centre back.
Finish the hem with a hemmer foot or create a rolled hem by hand.
[/wc_accordion_section]
[/wc_accordion]
Download the Eloise Top & Dress PDF Sewing Pattern here

