
Joey Tee Eğitimi
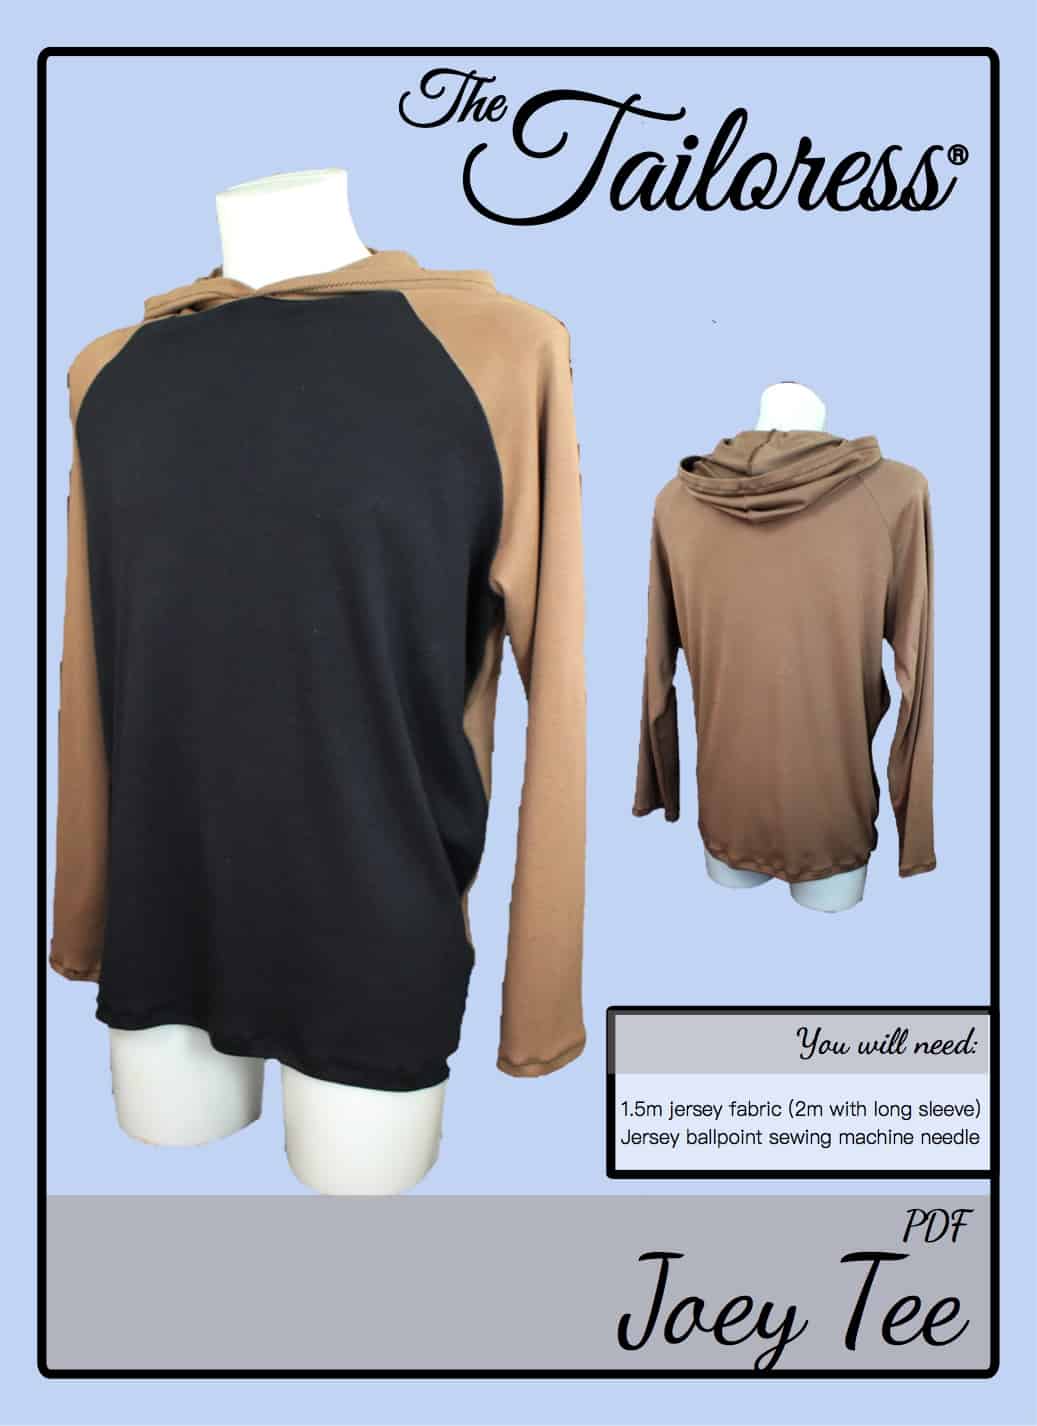
[printfriendly]
Görüntüler desen indirme mevcuttur.
[wc_accordion collapse=”0″ leaveopen=”0″ sınıf=”” layout=”box”]
[wc_accordion_section title=”Step 1″]
Herhangi bir denge veya kolaylığı işaretleri işaretleme tüm parçaları kesip. Bu giysi bir dikiş oluşturulur her yere zig-zag dikiş kullanılması önerilir, böylece buna uygun esnekliğe sahip olacaktır.
SLEEVE kol yuvasının ön kenarını ÖN kol yuvasına yatırın, Birlikte SAĞ TARAFI.
Pim ve dikiş payı dikiş.
Repeat for the other FRONT side.
[/wc_accordion_section]
[wc_accordion_section title=”Step 2″]
Lay the back SLEEVE armhole to the BACK armhole RIGHT SIDES together.
Pim ve dikiş payı dikiş.
Repeat for the other BACK side.
Bir overlocker kullanarak tüm kol dikiş paylarını bitirmek ya da dikiş zig-zag. Gerekirse Trim.
[/wc_accordion_section]
[wc_accordion_section title=”Step 3″]
dışarı giysi ters tarafıyla, align the side seams and SLEEVE seams.
Pin and stitch continuously from SLEEVE cuff to the garment hem.
daha önce olduğu gibi dikiş paylarını Finish.
[/wc_accordion_section]
[wc_accordion_section title=”Step 4″]
HOOD OLMADAN:
beraber yarım BOYUN CUFF sağ yanlarından katlayın ve kısa dikiş payı dikiş.
Ham kenarları karşılamak ve böylece ikiye BOYUN manşet katlayın.
giysi yaka etrafında Kolaylığı. yerine pim ve dikiş.
For HOOD see Steps 5-7.
[/wc_accordion_section]
[wc_accordion_section title=”Step 5″]
HOOD İLE:
Sağ tarafları birbirine iki DAVLUMBAZ parçaları Lay. Pin and stitch the center back seam allowance. Trim and finish the seam allowance with zig-zag stitch or an overlocking stitch.
[/wc_accordion_section]
[wc_accordion_section title=”Step 6″]
Complete the hood by folding the front opening seam allowance back 0.75mm then again 0.75mm. Pin and stitch in place to finish the seam.
[/wc_accordion_section]
[wc_accordion_section title=”Step 7″]
Ease the neckline of the HOOD on to the garment neckline. Overlap the centre front edges of the HOOD by 1.5cm onto each other.
Pim ve dikiş. dikiş payı bitir.
You may like to top-stitch the seam allowance flat towards the bottom of the garment.
[/wc_accordion_section]
[wc_accordion_section title=”Step 8″]
dikiş payı bitirerek giysi ucu ve manşetleri tamamlanması, Daha sonra sabitlemek için geri 1.5 cm ve üst dikiş katlanmasını.
Tüm dikişler basın.
[/wc_accordion_section]
[/wc_accordion]