
Gabriella Jumpsuit Tutorial
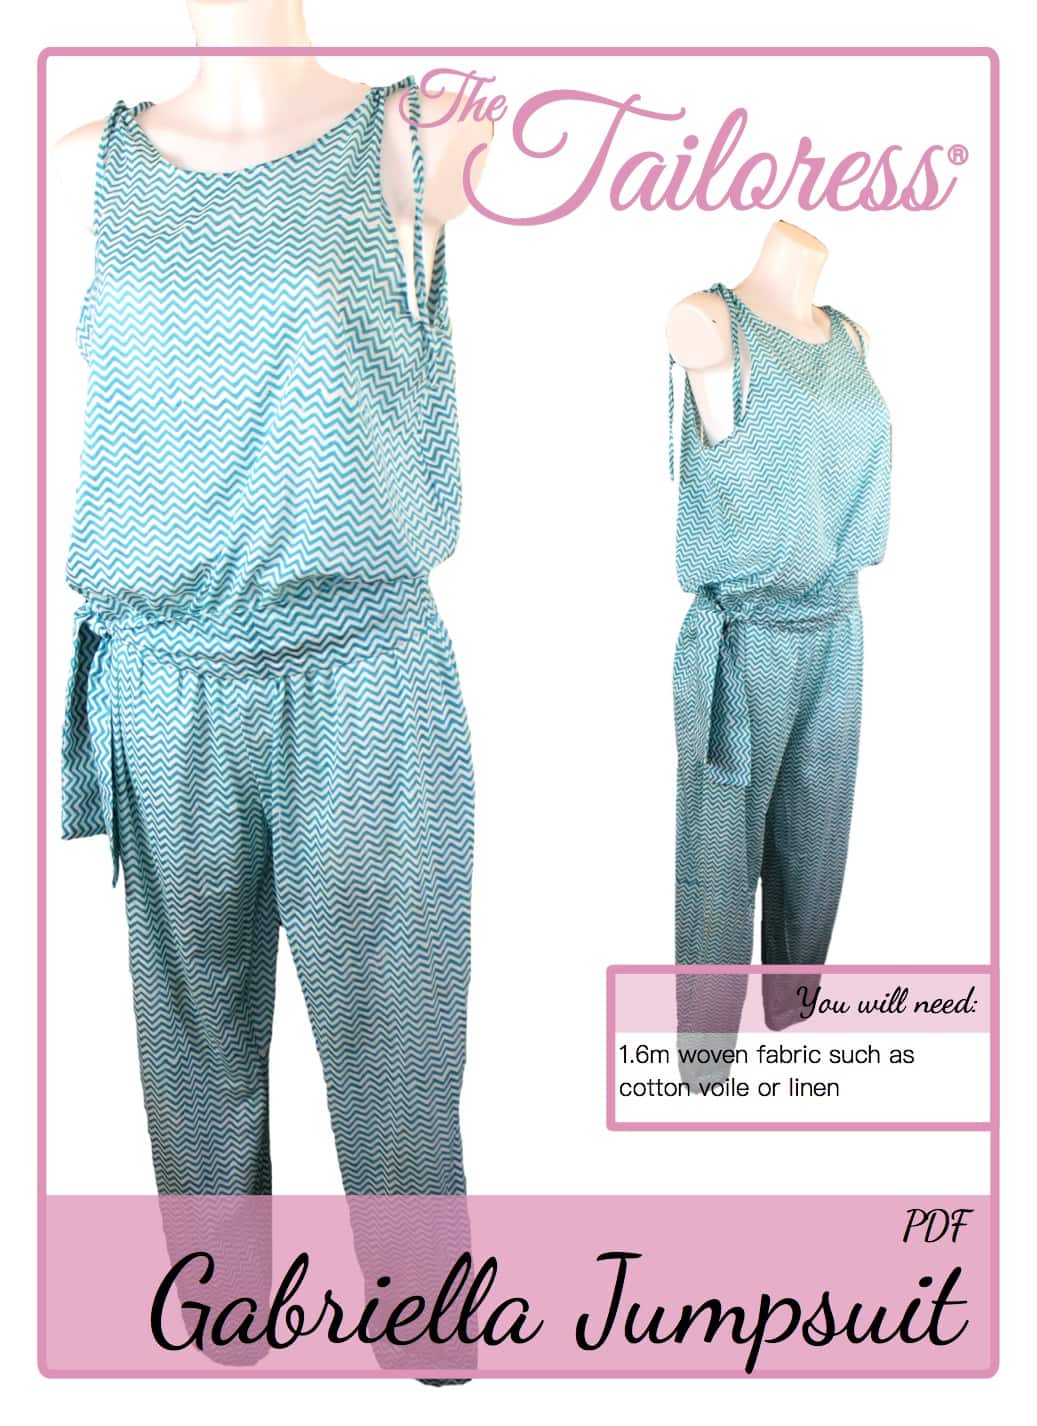
[printfriendly]
Hình ảnh có sẵn trong các mẫu tải về.
[wc_accordion collapse=”0″ leaveopen=”0″ lớp=”” bố cục=”hộp”]
[wc_accordion_section title=”Step 1″]
1.5phụ cấp cm đường may bao gồm
Cắt tất cả các mảnh mô hình.
Fold the TIE LOOPS in half as shown on the pattern piece. Stitch and cut along the CUTLINE.
Fold the WAISTBAND LOOP in half as shown on the pattern piece and stitch.
Turn the TIE LOOPS and WAISTBAND LOOP RIGHT SIDES OUT. nhấn.
[/wc_accordion_section]
[wc_accordion_section title=”Step 2″]
Lay the FRONT RIGHT SIDES together with the BACK.
Pin and stitch the side seam allowances.
Finish the seam allowance using zig-zags stitch or an overlocker.
[/wc_accordion_section]
[wc_accordion_section title=”Step 3″]
Finish the underarm and neckline sections. Sơ đồ trên cho thấy phương pháp của việc sử dụng một dải cắt tùy chỉnh sai lệch. Nếu bạn đang sử dụng thiên vị chuẩn bị xin điều chỉnh cho phù hợp với chiều rộng thiên vị của bạn. Đối với thiên vị tùy chỉnh làm cho bạn khoảng. 4.5cm x 50cm long for the armholes and 4.5cm x 30cm long for the neckline seam allowances.
Ghim dải thiên vị ở vị trí dọc theo phần nách. Stitch trợ cấp 1.5cm đường may.
Trim trợ cấp đường may đến khoảng 7,5mm.
Gấp trên mép ngoài của thiên vị bởi 1cm.
Gấp dải thiên vị hơn và xung quanh các cạnh thô để che giấu. Pin ở vị trí đứng ở phía trái. Sử dụng một khâu tay như trượt khâu để bảo đảm thiên vị tại chỗ hoặc topstitch gần với ranh giới đường may.
[/wc_accordion_section]
[wc_accordion_section title=”Step 4″]
Fold the TIE LOOPS in half and align the raw edges with the unfinished shoulders of the garment.
Pin và khâu. Top-stitch the seam allowances flat.
[/wc_accordion_section]
[wc_accordion_section title=”Step 5″]
Take FRONT and BACK TROUSER pieces and lay RIGHT SIDES together.
Ghim, stitch and finish the side seam allowances.
Lặp lại cho phía bên kia.
[/wc_accordion_section]
[wc_accordion_section title=”Step 6″]
Insert one TROUSER into another, Bên phải cùng nhau.
Align the crotch seam allowance.
Ghim, stitch and finish beginning at either centre front or back and continuing to the opposite center.
[/wc_accordion_section]
[wc_accordion_section title=”Step 7″]
Take the TROUSER CUFFS and ELASTIC WAISTBAND.
Fold in half lengthways and sew the seam allowances.
Rẽ bên phải ra.
Prepare the lengths of elastic by overlapping the seam allowances and stitching to create rounds.
[/wc_accordion_section]
[wc_accordion_section title=”Step 8″]
Fold the CUFFS in half so as to match the raw edges.
Insert the cuff elastic between the fabric layers, concealing it.
Align the raw edges of the CUFF to the end of the TROUSER leg. Pin và khâu tại chỗ. Kết thúc phụ cấp đường may như trước.
Repeat for the opposite leg.
[/wc_accordion_section]
[wc_accordion_section title=”Step 9″]
Fold the ELASTIC WAISTBAND in half, matching the raw edges.
Insert the waistband elastic between the layers.
Pin and stitch the ELASTIC WAISTBAND RIGHT SIDES together with the TROUSER waistline.
Stitch within the seam allowance to allow this row of stitches to be hidden once the FRONT and BACK are sewn on.
[/wc_accordion_section]
[wc_accordion_section title=”Step 10″]
Turn the FRONT and BACK WRONG SIDES out.
Match the waistline to that of the TROUSER and ELASTIC WAISTBAND.
Fold the WAISTBAND LOOP in half and insert the raw edges into the seam allowance between the upper garment and the TROUSER at one of the side seams. (Choose the opposite side to that which you want your tie to hang).
Ghim, khâu và hoàn thành các phụ cấp đường may.
[/wc_accordion_section]
[wc_accordion_section title=”Step 11″]
Fold the WAISTBAND in half along its width RIGHT SIDES together. Sew the seam allowance, sew one end closed but leave one open.
Turn the WAISTBAND RIGHT SIDES out through the open end.
Fold back the seam allowance of the open end and sew closed using a small hand stitch such as whip stitch.
Complete the garment by creating the TIES (follow the TIE & dây đeo Tutorial) and inserting into the TIE LOOPS.
[/wc_accordion_section]
[/wc_accordion]
Download the Gabriella Jumpsuit PDF Sewing Pattern here