
Gabriella Jumpsuit Tutorial
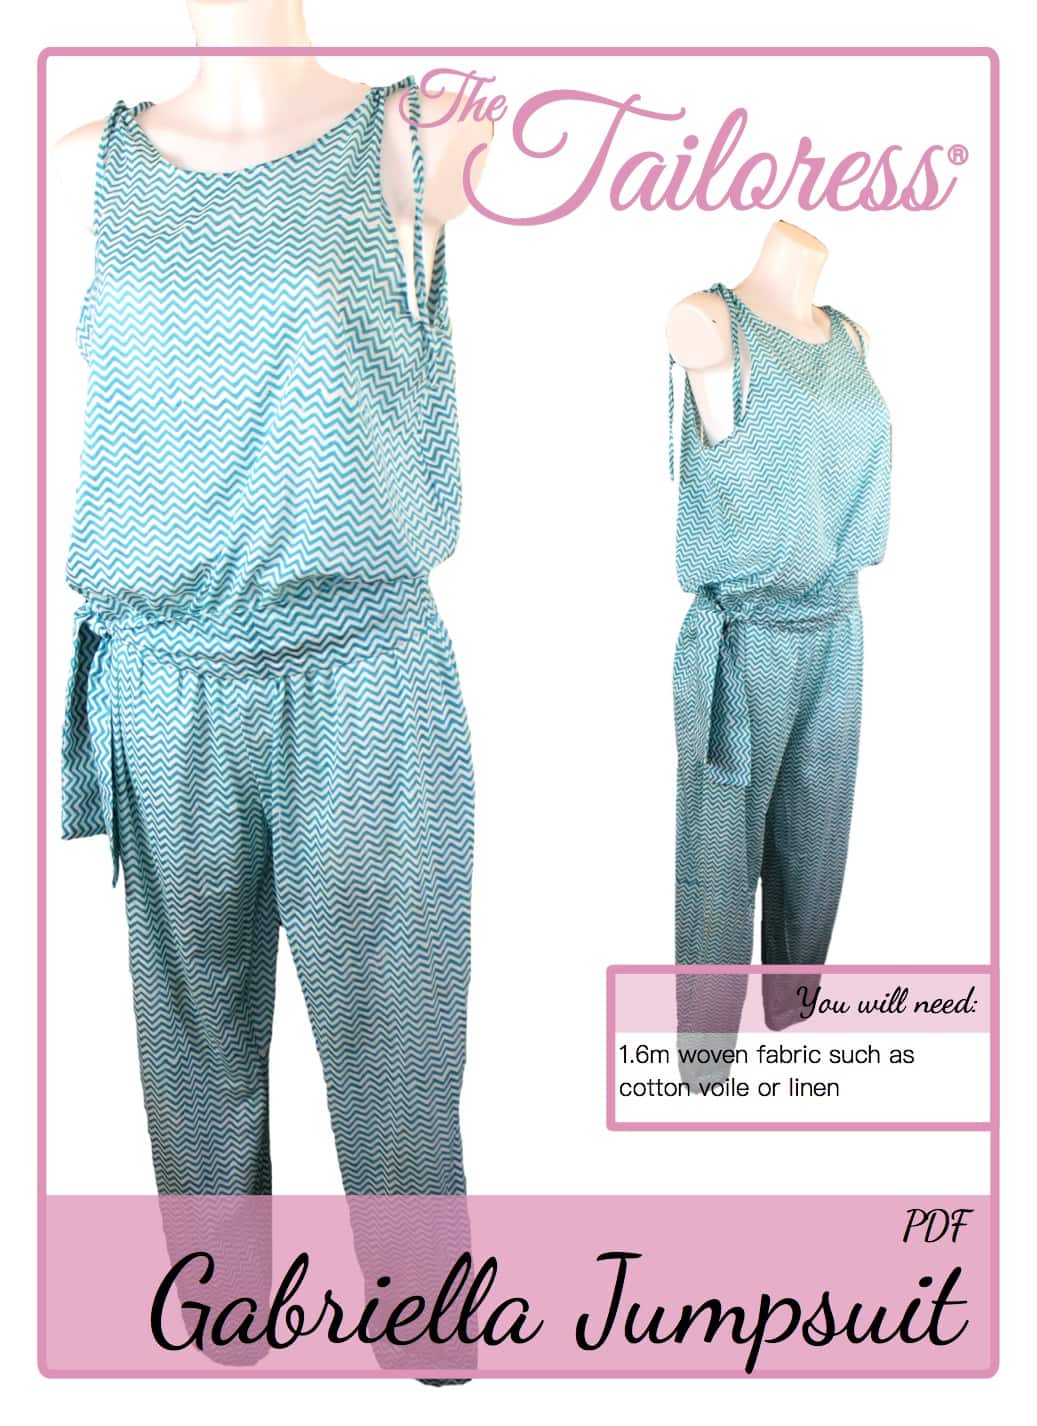
[დასაბეჭდად]
სურათები ხელმისაწვდომია შაბლონის ჩამოტვირთვაში.
[wc_accordion collapse=”0″ დატოვე ღია =”0″ კლასი =”” განლაგება =”ყუთი”]
[wc_accordion_section title=”ნაბიჯი 1″]
1.5სმ ნაკერი შედის
გამოტოვეთ ყველა ნიმუში დარტყმები.
Fold the TIE LOOPS in half as shown on the pattern piece. Stitch and cut along the CUTLINE.
Fold the WAISTBAND LOOP in half as shown on the pattern piece and stitch.
Turn the TIE LOOPS and WAISTBAND LOOP RIGHT SIDES OUT. Press.
[/wc_accordion_section]
[wc_accordion_section title=”ნაბიჯი 2″]
Lay the FRONT RIGHT SIDES together with the BACK.
Pin and stitch the side seam allowances.
Finish the seam allowance using zig-zags stitch or an overlocker.
[/wc_accordion_section]
[wc_accordion_section title=”ნაბიჯი 3″]
Finish the underarm and neckline sections. აღნიშნული დიაგრამა აჩვენებს მეთოდის გამოყენებით საბაჟო დაჭრილი ზოლები კომპენსაცია. თუ თქვენ იყენებთ მომზადებული კომპენსაცია გთხოვთ ადაპტირება ვარიანტს თქვენი კომპენსაცია სიგანე. For custom bias make yours approx. 4.5cm x 50cm long for the armholes and 4.5cm x 30cm long for the neckline seam allowances.
ამოძრავებთ კომპენსაცია ზოლები ადგილი გასწვრივ იღლიის განყოფილებაში. სტიჩი 1.5cm seam შემწეობის.
მორთვა seam დახმარება შესახებ 7.5mm.
ჯერ მეტი გარე კიდეზე კომპენსაცია 1cm.
ჯერ კომპენსაცია ზოლები მეტი და გარშემო ნედლეული პირას მალავს. Pin in place on the WRONG SIDE. Use a hand stitch such as slip stitch to secure the bias in place or topstitch close to the seam line.
[/wc_accordion_section]
[wc_accordion_section title=”ნაბიჯი 4″]
Fold the TIE LOOPS in half and align the raw edges with the unfinished shoulders of the garment.
Pin და სტიჩი. Top-stitch the seam allowances flat.
[/wc_accordion_section]
[wc_accordion_section title=”ნაბიჯი 5″]
Take FRONT and BACK TROUSER pieces and lay RIGHT SIDES together.
pin, stitch and finish the side seam allowances.
გაიმეორეთ მეორე მხარეს.
[/wc_accordion_section]
[wc_accordion_section title=”ნაბიჯი 6″]
Insert one TROUSER into another, მარჯვენა მხარეს ერთად.
Align the crotch seam allowance.
pin, stitch and finish beginning at either centre front or back and continuing to the opposite center.
[/wc_accordion_section]
[wc_accordion_section title=”ნაბიჯი 7″]
Take the TROUSER CUFFS and ELASTIC WAISTBAND.
Fold in half lengthways and sew the seam allowances.
აქციოს უფლება მხარეები.
Prepare the lengths of elastic by overlapping the seam allowances and stitching to create rounds.
[/wc_accordion_section]
[wc_accordion_section title=”ნაბიჯი 8″]
Fold the CUFFS in half so as to match the raw edges.
Insert the cuff elastic between the fabric layers, concealing it.
Align the raw edges of the CUFF to the end of the TROUSER leg. Pin და სტიჩი ადგილზე. Finish the seam allowance as before.
Repeat for the opposite leg.
[/wc_accordion_section]
[wc_accordion_section title=”Step 9″]
Fold the ELASTIC WAISTBAND in half, matching the raw edges.
Insert the waistband elastic between the layers.
Pin and stitch the ELASTIC WAISTBAND RIGHT SIDES together with the TROUSER waistline.
Stitch within the seam allowance to allow this row of stitches to be hidden once the FRONT and BACK are sewn on.
[/wc_accordion_section]
[wc_accordion_section title=”Step 10″]
Turn the FRONT and BACK WRONG SIDES out.
Match the waistline to that of the TROUSER and ELASTIC WAISTBAND.
Fold the WAISTBAND LOOP in half and insert the raw edges into the seam allowance between the upper garment and the TROUSER at one of the side seams. (Choose the opposite side to that which you want your tie to hang).
pin, stitch and finish the seam allowance.
[/wc_accordion_section]
[wc_accordion_section title=”Step 11″]
Fold the WAISTBAND in half along its width RIGHT SIDES together. Sew the seam allowance, sew one end closed but leave one open.
Turn the WAISTBAND RIGHT SIDES out through the open end.
Fold back the seam allowance of the open end and sew closed using a small hand stitch such as whip stitch.
Complete the garment by creating the TIES (follow the TIE & STRAP TUTORIAL) and inserting into the TIE LOOPS.
[/wc_accordion_section]
[/wc_აკორდეონი]
Download the Gabriella Jumpsuit PDF Sewing Pattern here